|
|
|
|
When I first joined Digital Photography, I had very little experience with photography. I had a camera at home and I would take random pictures of nature and my friends. My friends and I would have mini photoshoots outside and the photos would come out pretty good, but some would be blurry or washed out. I had no clue what aperture, shutter speed or ISO was. After learning we were going to have a class blog, I was really excited and thought it would be cool to share my photos on a personal blog. At the beginning of the trimester when we were supposed to go out and take random pictures, my photos would be washed out and blurry, they would just be poor quality. But after learning how to adjust the aperture and shutter speed, my pictures started turning out better quality. I remember opening up Adobe Photoshop CC for the first time and I was so confused. I didn't know what any of the tools were or what they did. Now, I know how to use most of them, not all of them. Overall, I am so glad that I took this class this trimester because the photoshop and photo assignments were really fun and I enjoyed them a lot.
1 Comment
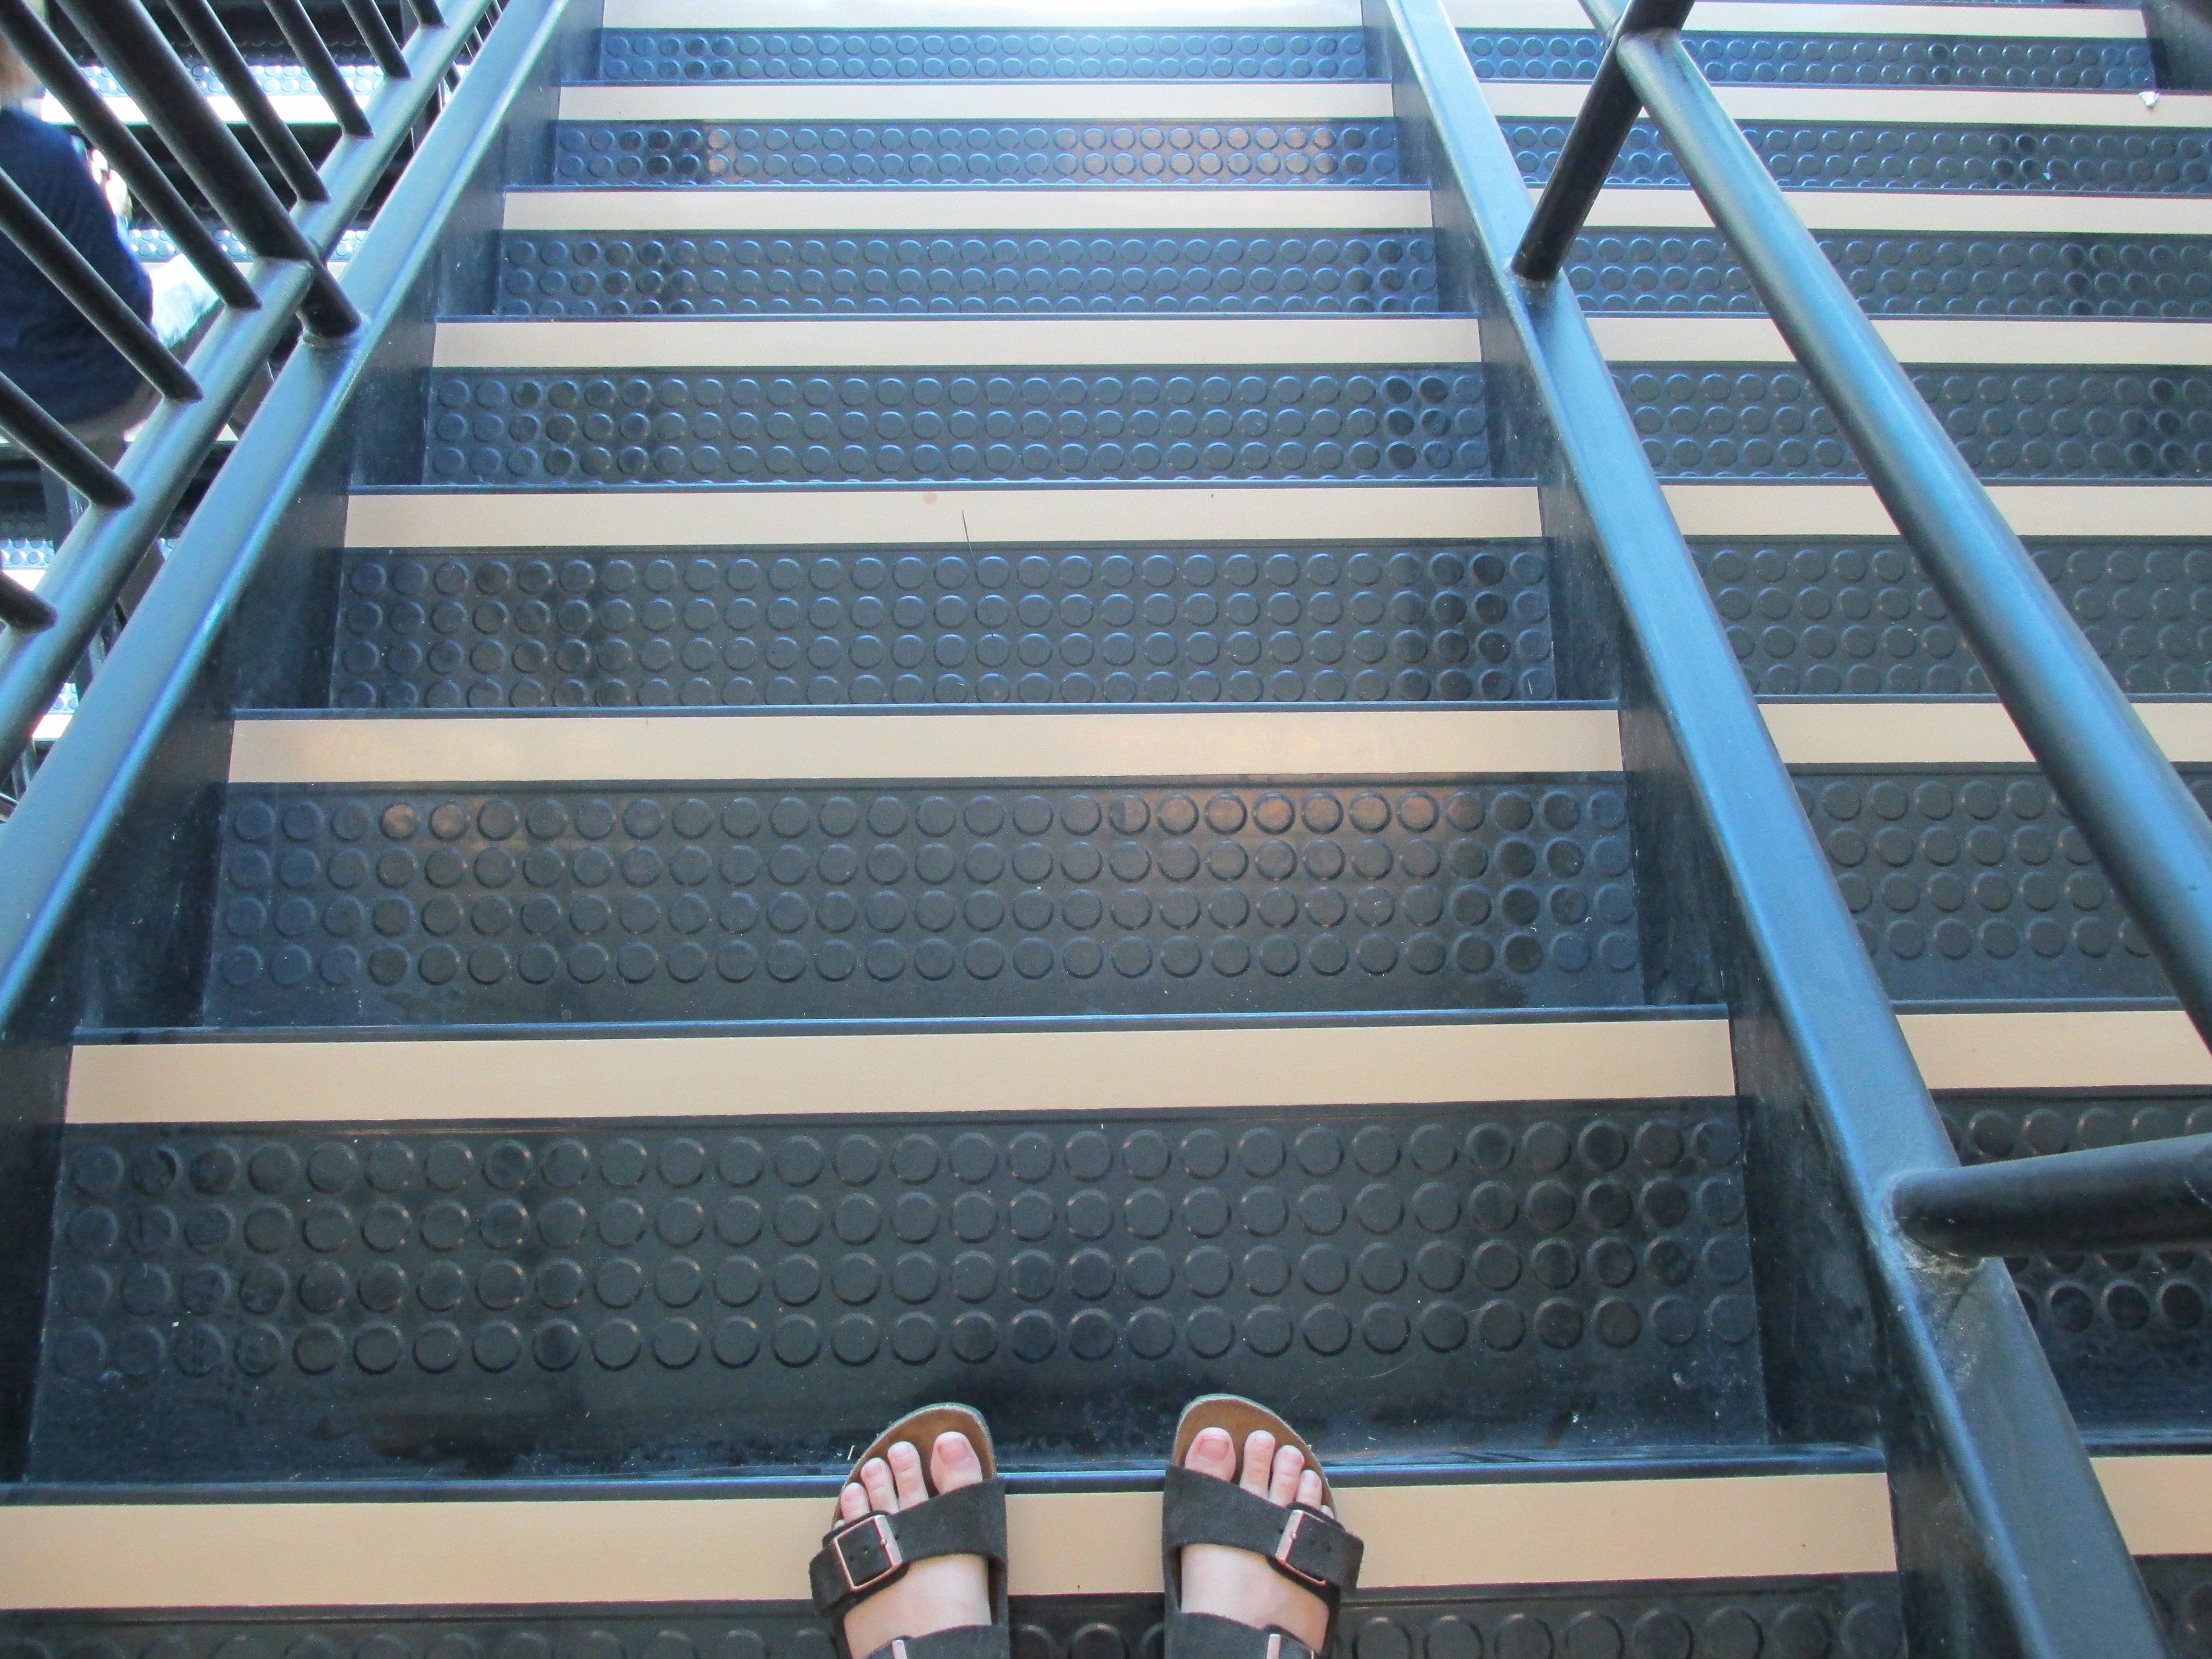
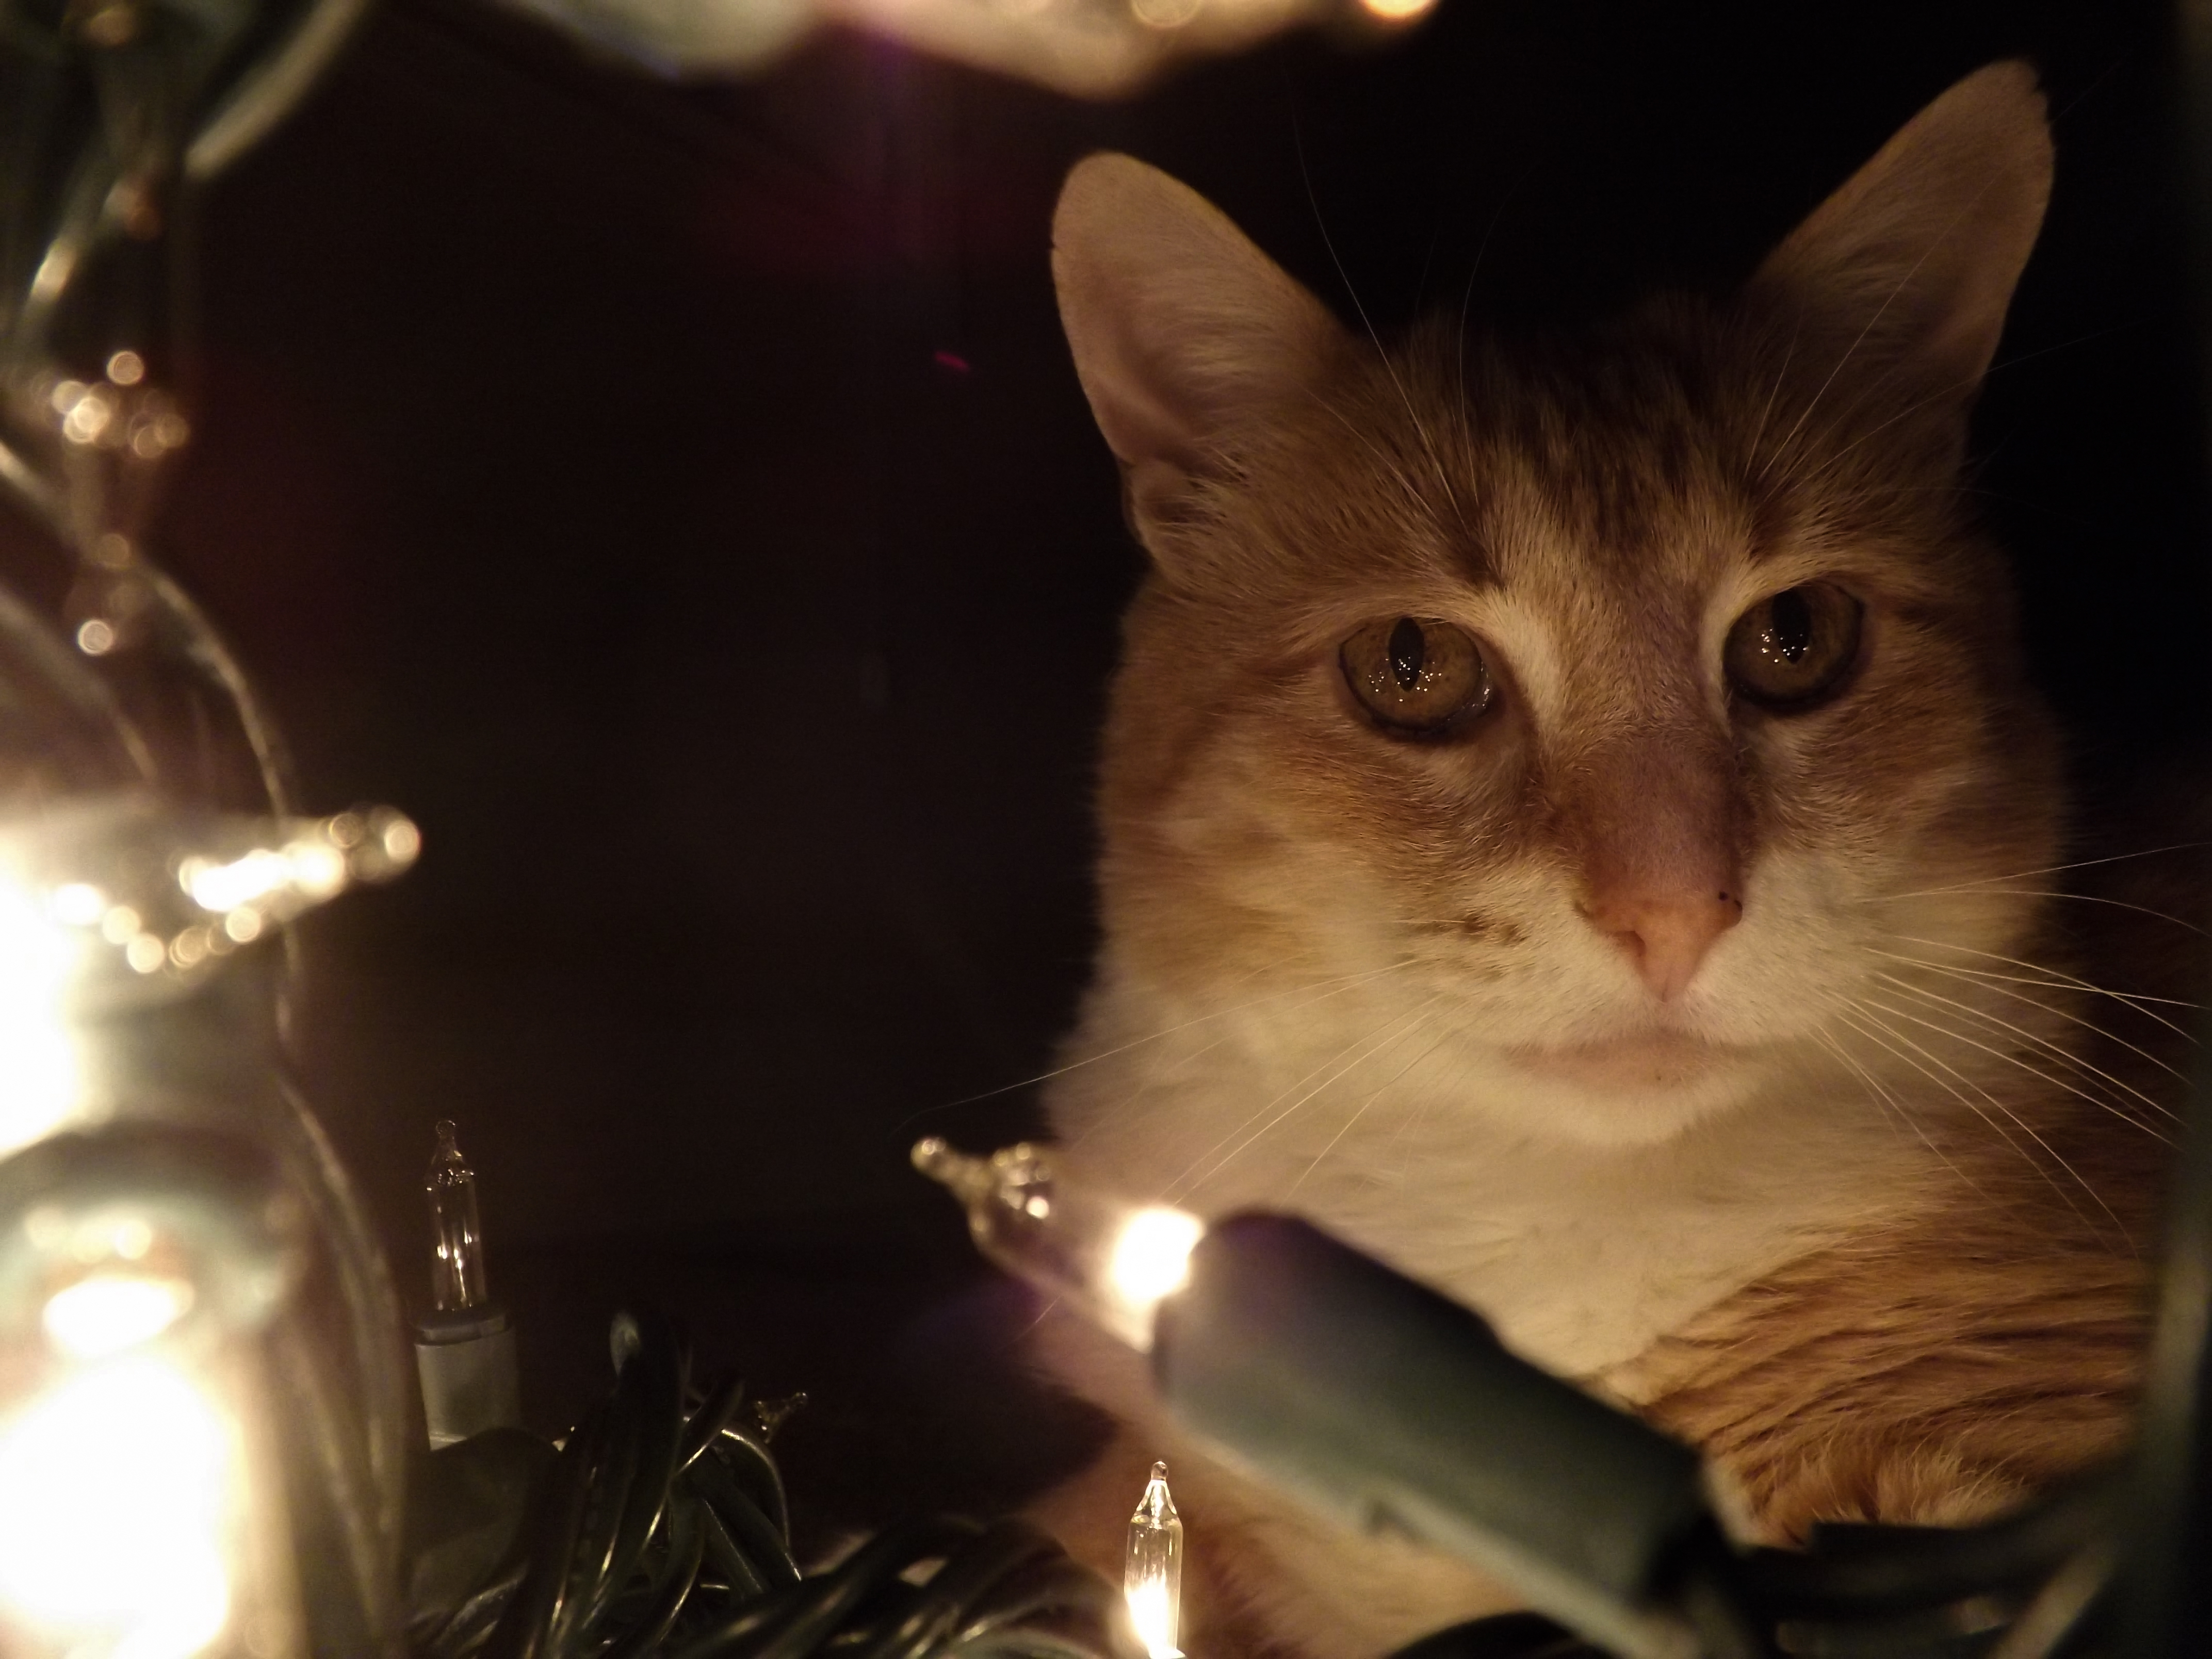
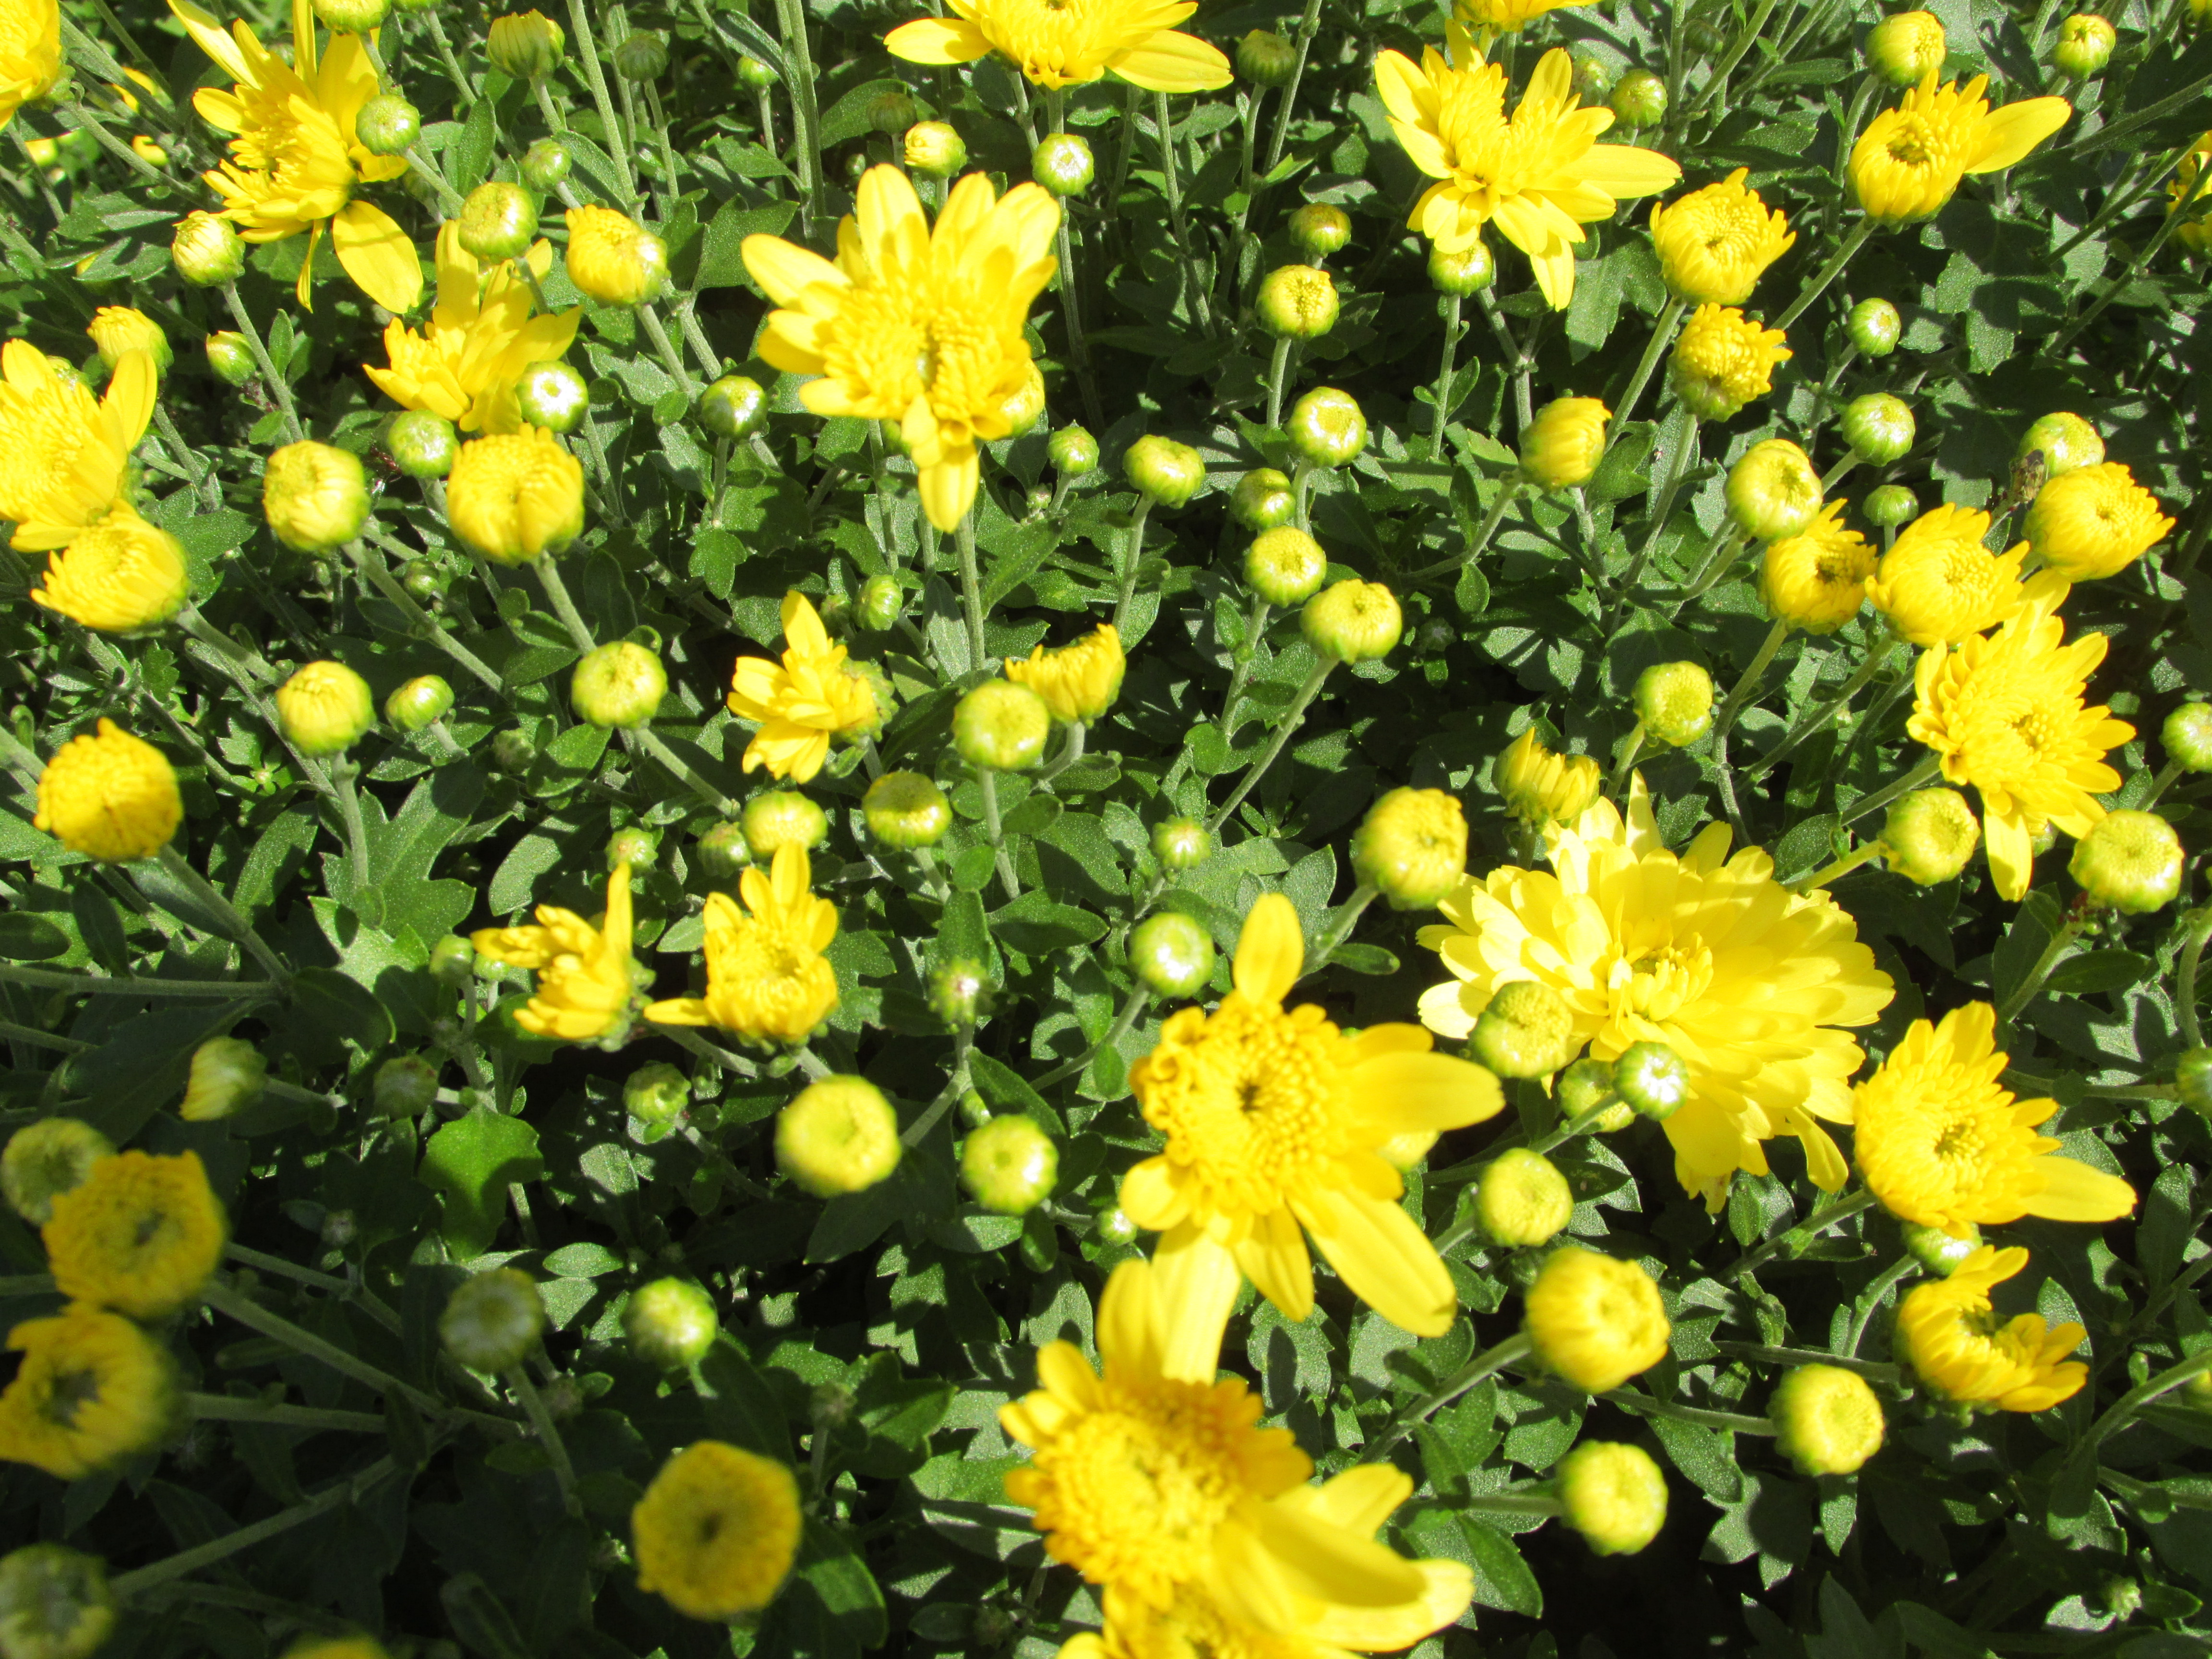
Today we learned about motion blur and panning in on the subject in the image. Our job was to pan in on Mr. Bush riding his bike and make it look like the background was blurry and he was clear. 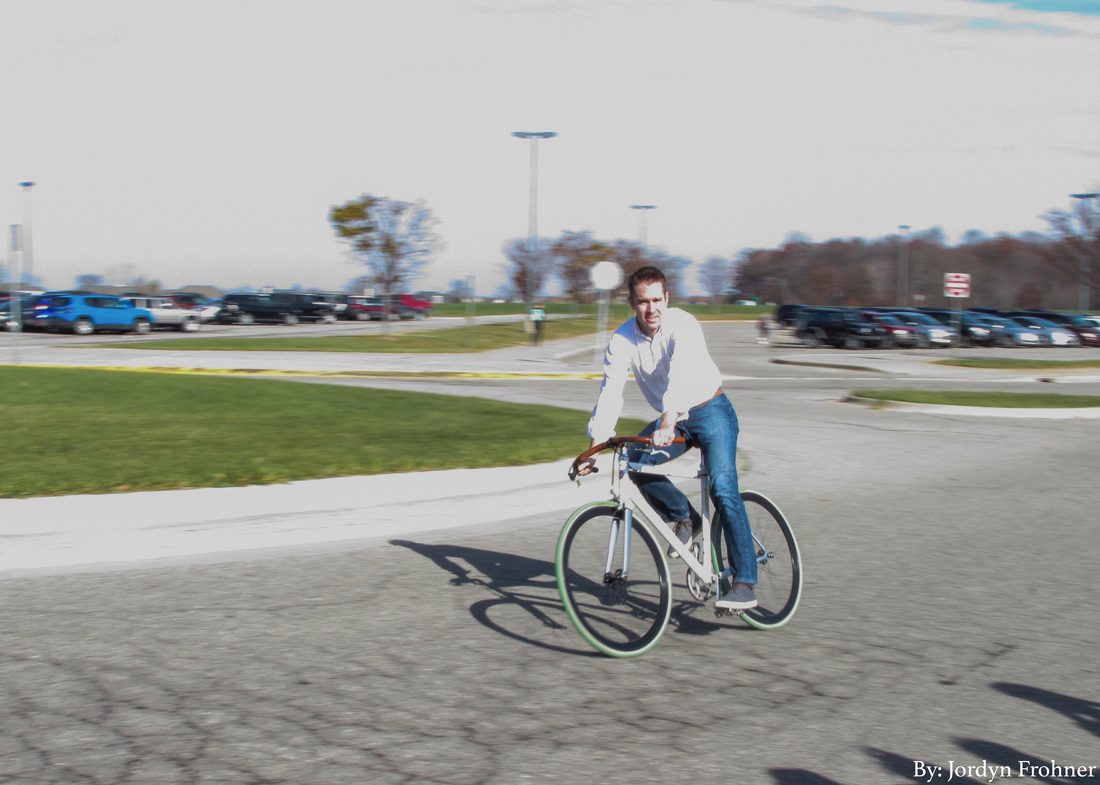 In this assignment, we worked with Photo Stacks, Layer Masking, and creativity to create an image that composites multiple versions of you into a scene. What I learned: I learned that while compositing the images in Photoshop, you have to leave the shadows in so it makes the image look real. 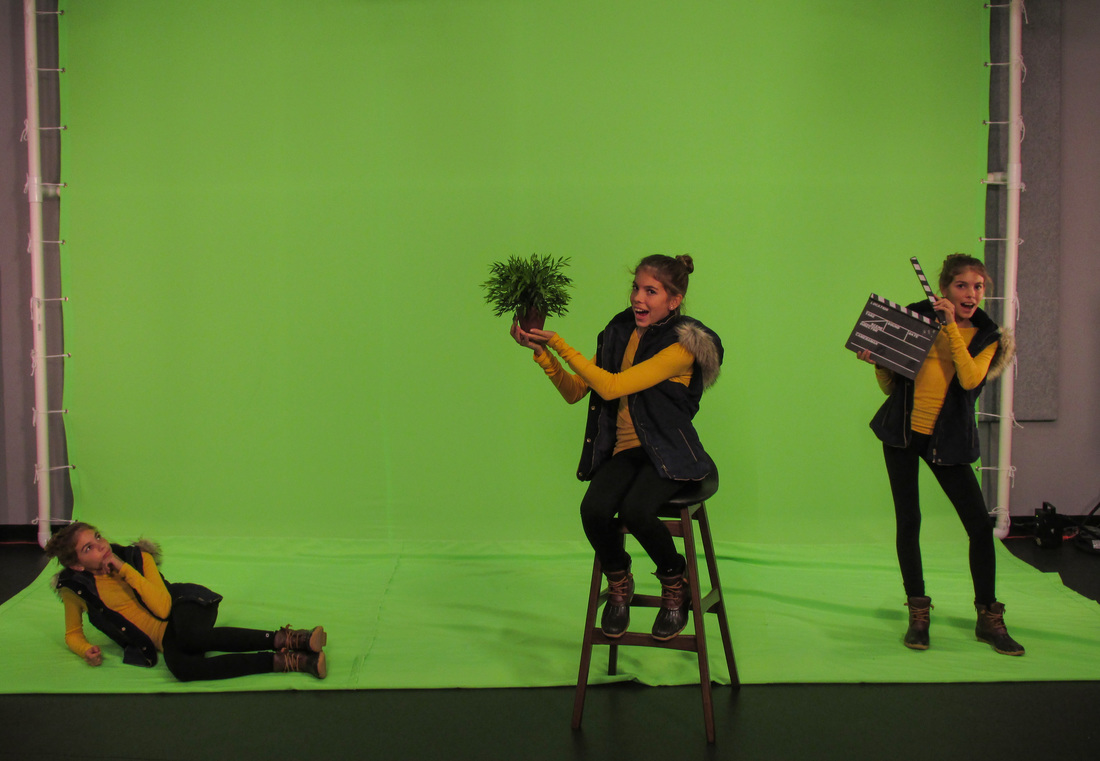 For this last weeks assignment, I'm using some pictures I took a couple weeks ago but never used them. While taking these photos, I told my friends to pose in different ways in front of different scenarios. I took some pictures in front of a brick wall and some in a field nearby my house. What I learned: I learned that while taking photos in the sun, you have to adjust the aperture so your photos don't wash out. BEST PHOTO: f/3.4, 1/40, ISO64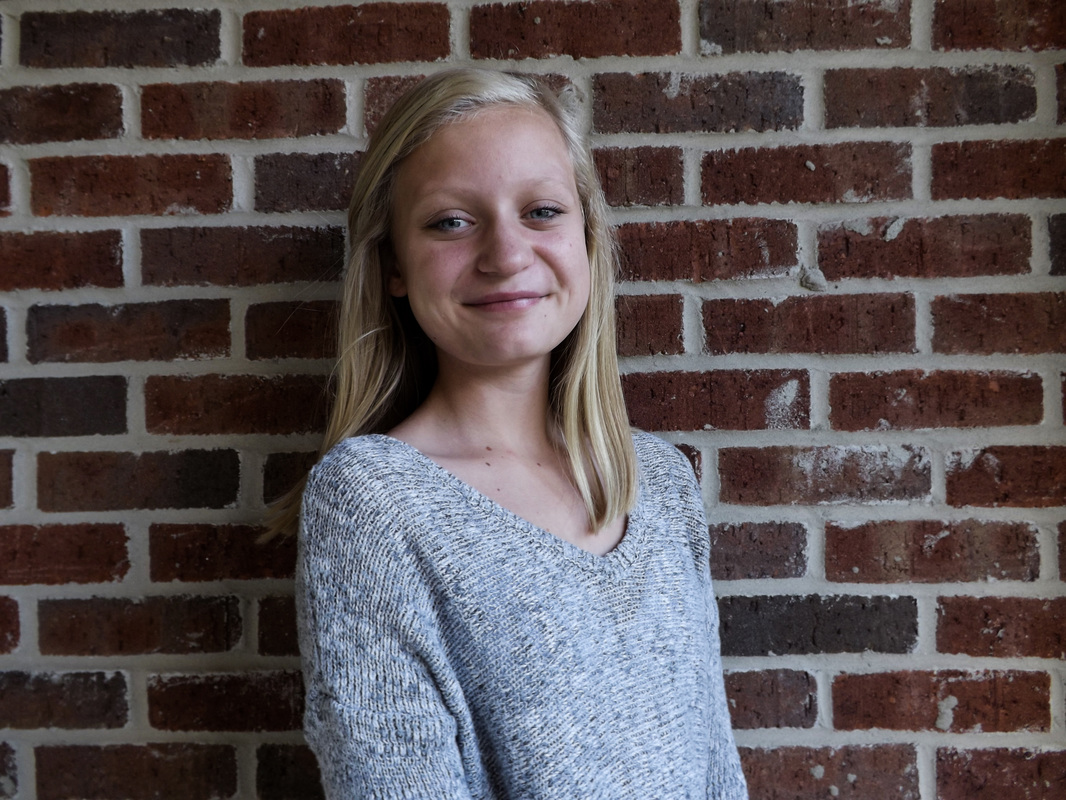 I edited all of the photos in Camera Raw Filter and adjusted the exposure, contrast, highlights, shadows, blacks, and clarity. In this assignment, we were assigned to choose any photoshop tutorial and try it. I chose a tutorial that showed how to make it look like fish were swimming in a lightbulb. It was pretty difficult at first, but got easier along the way. I thought this was a very interesting and fun tutorial to try. 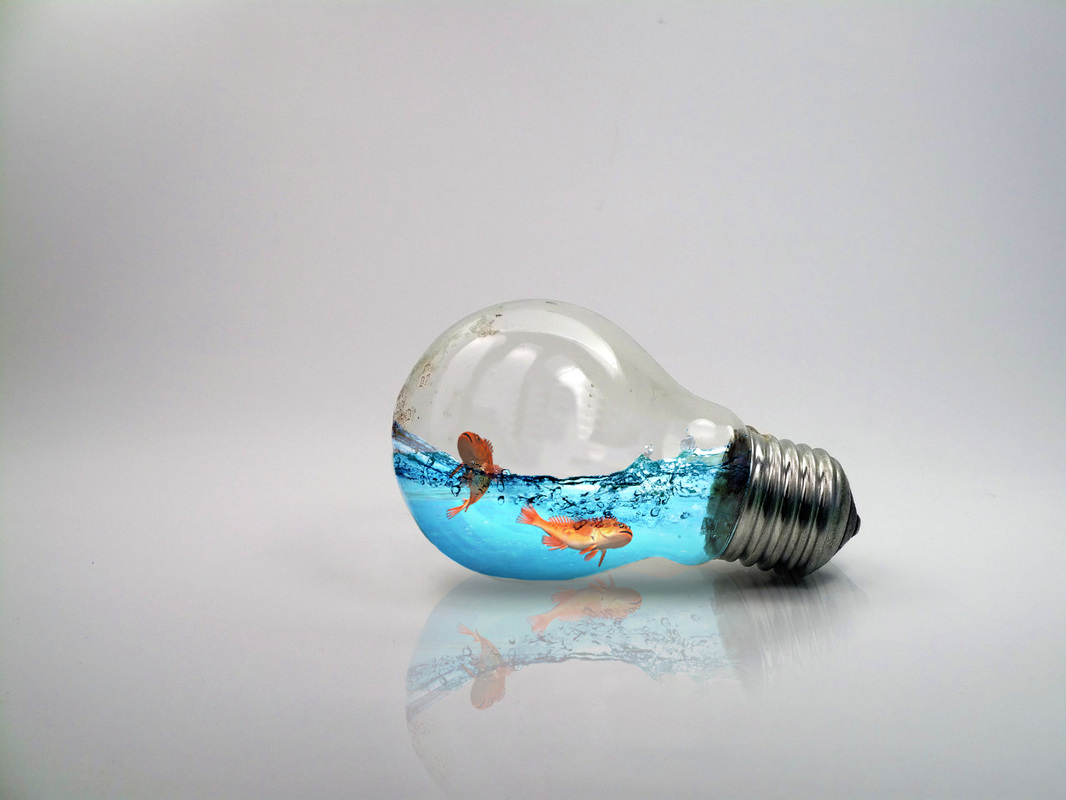 In this assignment, our job was to change the context of a typical photo somewhere around the school. Working with selection, multiple photos, editing and creativity, we were assigned to use our imaginations to create a unexpected scene. 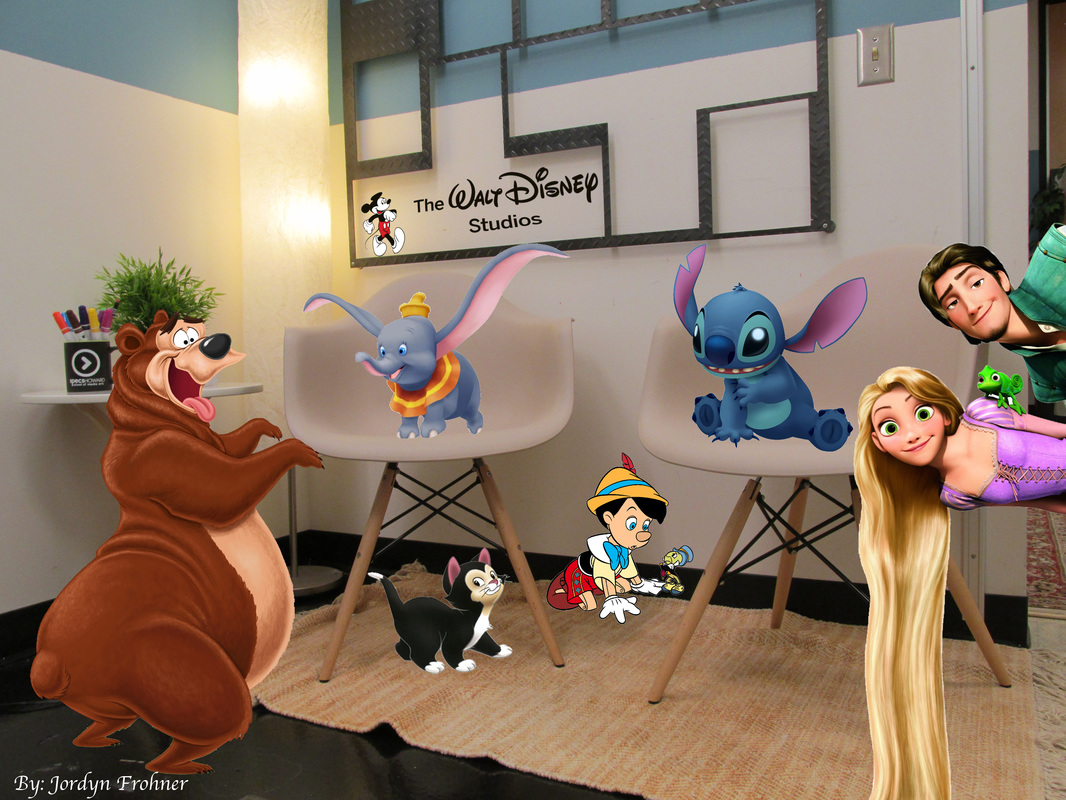 I shot Motion this week and it was kind of difficult. I had to wait until the fish stopped swimming in the tank to get a decent picture. At random times, the fish would swim opposite directions and it was difficult to take a picture really fast when the camera was focusing. I liked how there were bubbles floating up in the tank, it looked really cool in the photos. What I learned: I learned that while shooting Motion, you have to adjust your shutter speed to focus on the subject moving or you have to wait for the object to stop moving. BEST PHOTO: f/4.0, 1/35, ISO800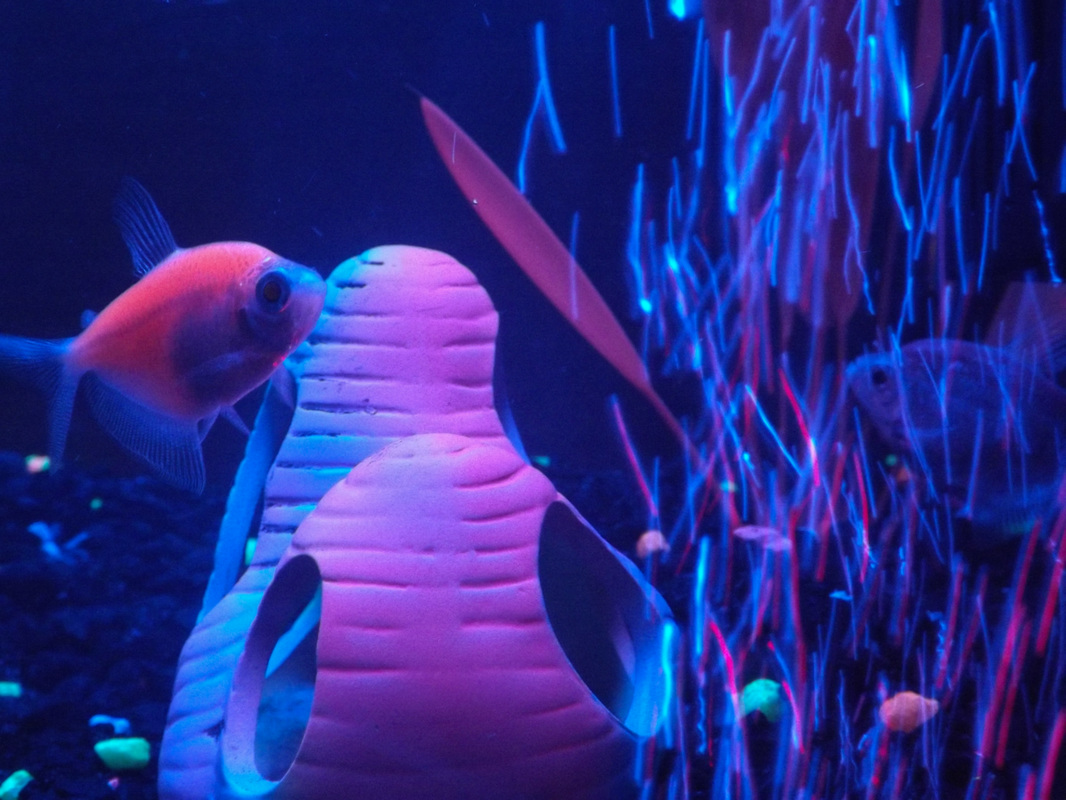 I edited the photo in Camera Raw Filter and touched up the exposure, contrast, shadows and clarity. I thought this assignment was pretty fun. We took 3 photos while using a tripod and overlapped between each picture we took. Then, we Photomerged the photos together in photoshop. What I learned: I learned that you can't move the camera up or down while taking the photos, if the camera moves even a tiny bit, the photo will mess up in Photomerge and look weird. This week I shot Still life/ Product. I made a mini studio by putting white paper around and under the different objects I chose, I used the flashlight on my phone for a light source to shine on the objects. I had to find random objects around my house and put them on the blank piece of paper. BEST PHOTO: f/3.6, 1/30, ISO400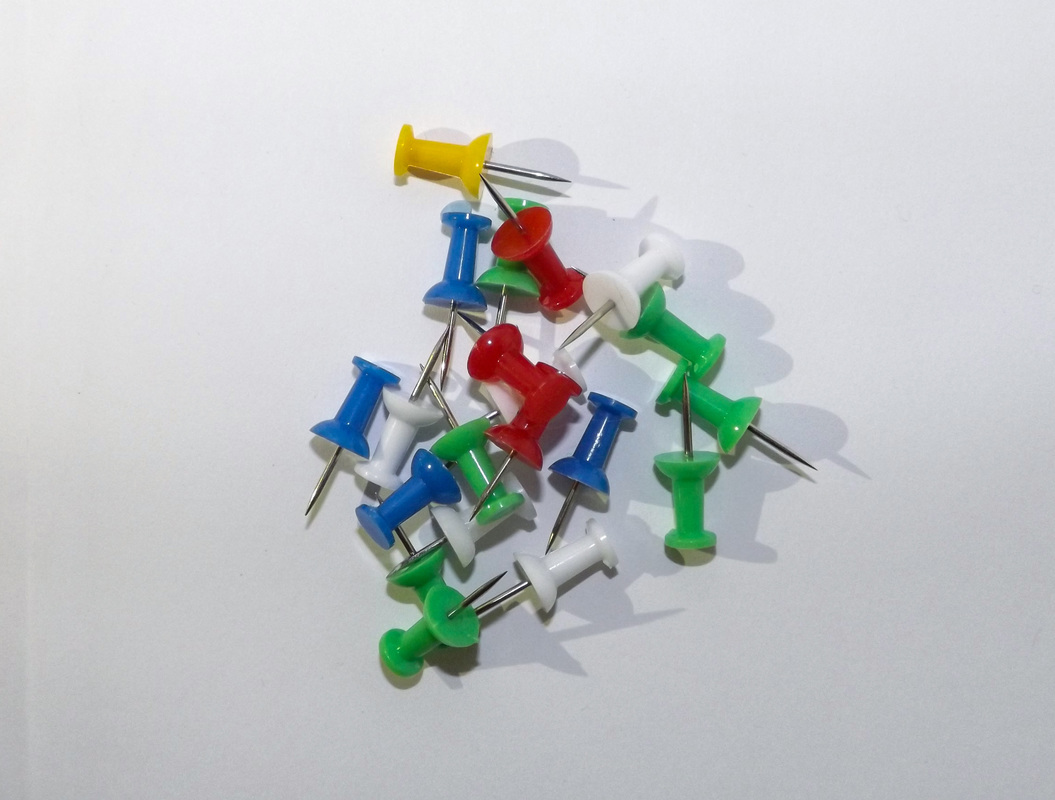 I touched up all of the photos in the Camera Raw Filter by adjusting the exposure, whites, clarity, and saturation. 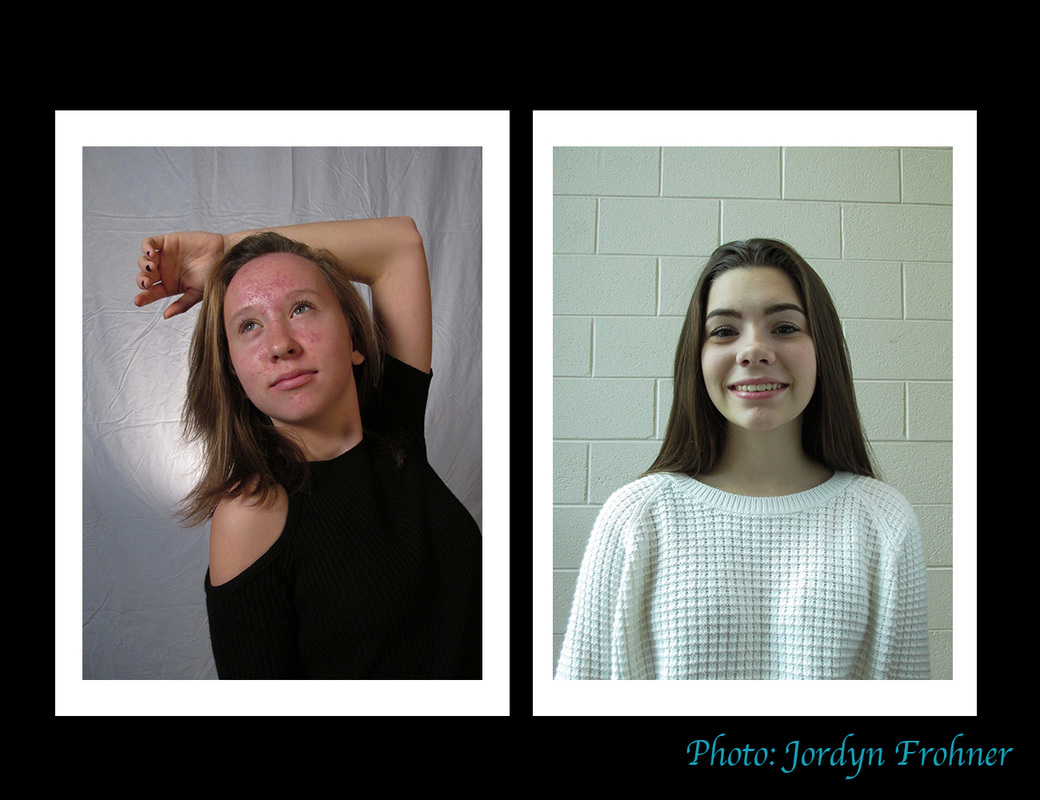 This week we did a portrait assignment using Photoshop. We used layers, framing, resizing, and text. First, we went and took pictures by a window using a "bounce card" and the window light, then took pictures in a studio with different lights. Then we edited the photos in Photoshop, framing and resizing them.
|